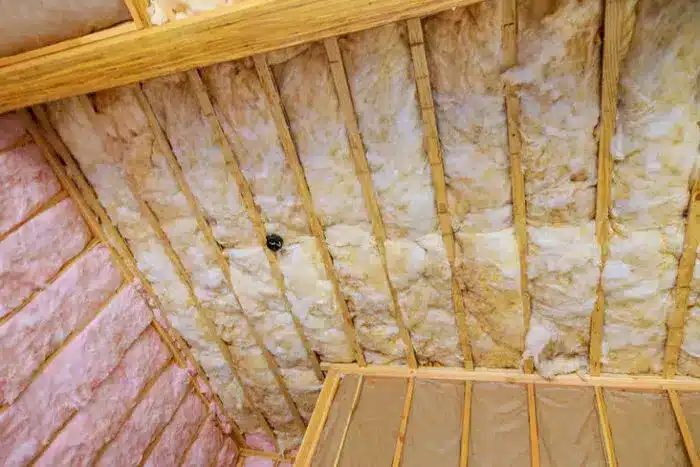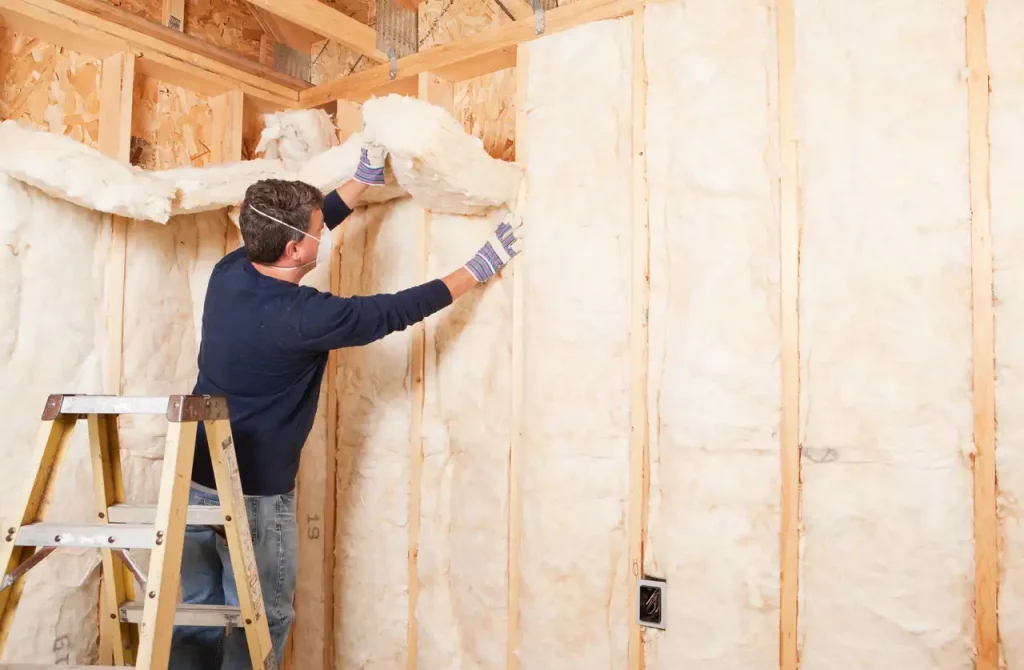
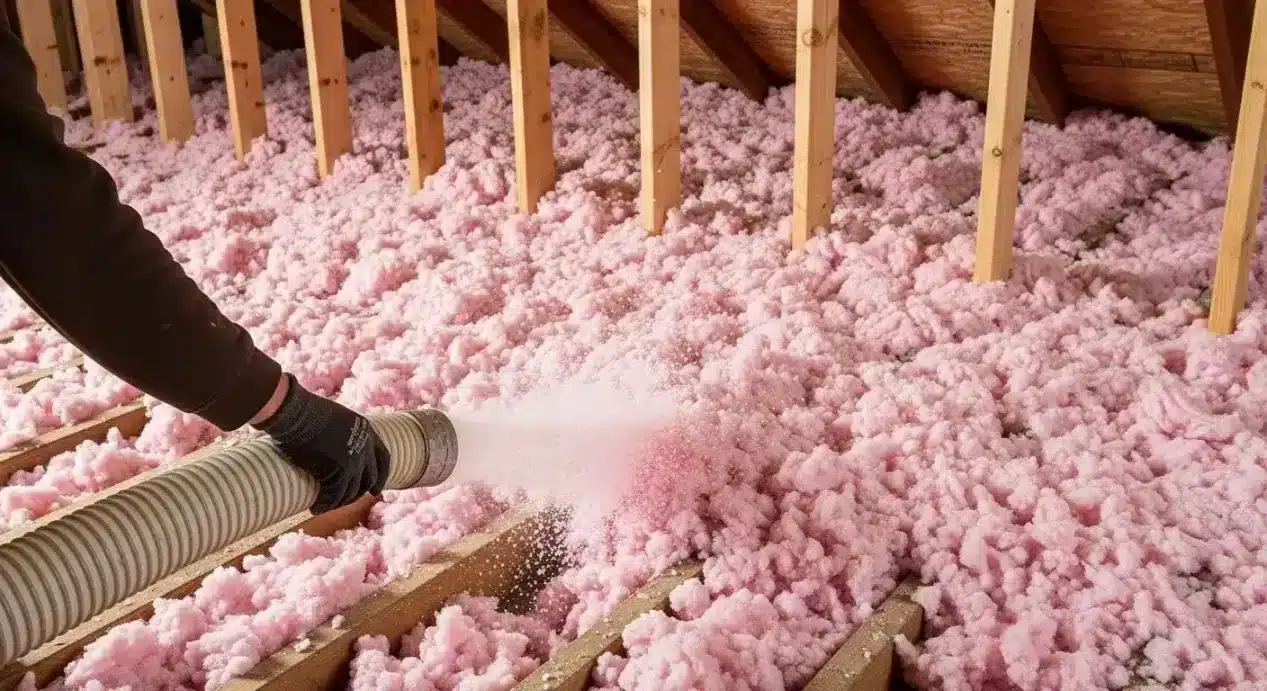
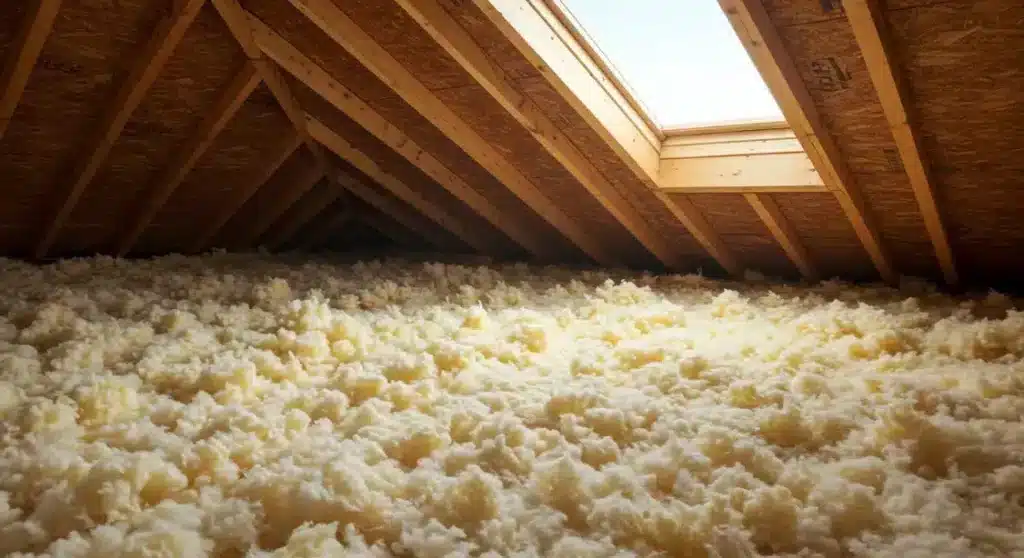
Blown-in insulation is a loose-fill material, typically cellulose, fiberglass, or mineral wool, that gets pneumatically installed through a hose into attic spaces where batts and rolls simply cannot reach. This method fills irregular cavities, wraps around framing members, and seals around obstructions like wiring, plumbing stacks, and ductwork, eliminating the voids and compression gaps that plague traditional insulation in complex attic geometries. According to ENERGY STAR, blown-in insulation is specifically best suited for enclosed existing wall cavities, unfinished attic floors, and other hard-to-reach places, making it the go-to solution for attics with low-clearance framing, irregular joist spacing, and numerous penetrations.
TLDR / Key Takeaways
- Blown-in insulation fills irregular cavities and hard-to-reach attic gaps that batts and rolls leave exposed, providing more complete thermal coverage.
- The EPA estimates homeowners can save an average of 15% on heating and cooling costs by air sealing and adding insulation in attics.
- Most common blown-in materials (fiberglass, cellulose, mineral wool) deliver roughly R-3 to R-3.5 per inch, so depth directly determines total R-value performance.
- Air sealing must happen before insulation is added to prevent trapping conditioned air leaks beneath the insulation layer.
- ENERGY STAR recommends attic insulation levels from R-30 in warm climates up to R-60 in colder zones.
- Blown-in installation requires intermediate skill level and professional equipment, making it a job best left to trained contractors.
Why Attic Gaps Are a Bigger Problem Than Most Homeowners Realize
Most homes in the United States lack sufficient attic insulation. ENERGY STAR reports that 9 out of 10 homes are under-insulated, which means the overwhelming majority of houses are losing conditioned air through the attic plane. When we look at an attic floor, the surface area is not a flat, open plane. It is interrupted by ceiling joists, truss chords, electrical wiring runs, plumbing vent stacks, HVAC register boots, recessed light housings, chimney chases, and dropped soffits above kitchen cabinets. Every one of these obstructions creates a gap that standard batt insulation cannot fully cover.
Batts are manufactured in fixed widths, typically 15 or 23 inches, designed to fit between standard joist spacing. When joists are irregular, when framing members are non-standard, or when a space is too tight to maneuver a roll into place, installers either compress the material or leave voids. Both outcomes degrade thermal performance. Compression reduces the effective R-value of the insulation, and voids create direct paths for heat transfer through convection and radiation.
Blown-in insulation solves this by conforming to whatever shape the attic cavity presents. The material flows around obstructions, fills narrow gaps between framing and the roof deck, and layers over irregular surfaces without leaving the bare spots that characterize poorly fitted batts.
How Blown-In Insulation Works in Attic Applications
The blown-in process uses a specialized machine that breaks up compacted insulation material and propels it through a long flexible hose. An operator in the attic directs the flow across the floor, building up even layers to a target depth. The three primary materials used in blown-in attic applications are:
- Cellulose: Made from recycled paper treated with fire retardants, cellulose has an R-value of approximately 3.2 to 3.8 per inch. It is denser than fiberglass and offers slightly better resistance to air movement through the insulation layer.
- Fiberglass: Loose-fill fiberglass delivers approximately 2.2 to 2.7 R-value per inch. It is lighter in weight and easier to blow over longer distances through the hose, making it practical for attics with limited access points.
- Mineral wool (rock wool or slag wool): Offers R-values similar to fiberglass at roughly 3.0 to 3.3 per inch, with added fire resistance and sound-dampening qualities.
All three materials contain some recycled content and are considered safe for residential attic installation according to ENERGY STAR guidance.
| Insulation Material | R-Value per Inch | Settling Over Time | Fire Resistance | Weight |
|---|---|---|---|---|
| Blown-in Cellulose | ~3.2 – 3.8 | Minimal (10-15% settling) | Treated with borate fire retardant | Heavier |
| Blown-in Fiberglass | ~2.2 – 2.7 | Minimal | Naturally non-combustible | Lighter |
| Blown-in Mineral Wool | ~3.0 – 3.3 | Minimal | Naturally fire-resistant | Heaviest |
Performance Comparison: Blown-In vs. Batts and Rolls
The fundamental advantage of blown-in insulation over batts is coverage consistency. Batts depend on the installer’s ability to cut and fit each piece precisely, which becomes impractical in attics with:
- Low clearance areas where workers cannot stand or kneel
- Non-standard joist spacing (12 inches, 19.2 inches, or irregular patterns)
- Numerous penetrations from wiring, plumbing, and HVAC
- Truss systems with web members blocking access to certain bays
- Dropped soffits, bulkheads, and knee wall cavities
In each of these situations, blown-in material fills gaps that batts leave exposed. The loose-fill nature also means the material conforms over time to the substrate, maintaining contact with the ceiling drywall below. This contact is important because gaps between insulation and the conditioned surface allow convective air currents to circulate within the insulation layer, reducing its effective R-value.
| Factor | Blown-In Insulation | Batts / Rolls |
|---|---|---|
| Coverage in irregular spaces | Fills completely around obstructions | Leaves voids unless hand-cut |
| Installation speed | Fast, machine-applied | Labor-intensive, piece by piece |
| Air leakage through material | Reduced (especially dense cellulose) | Gaps between batt edges leak air |
| Best application | Hard-to-reach attic floors, enclosed cavities | Open, accessible framing with standard spacing |
| Access requirements | Small hose entry point sufficient | Full access to each bay needed |
Recommended R-Values by Climate Zone
The depth of blown-in insulation required depends on your climate zone and the R-value target for your area. According to ENERGY STAR’s recommended insulation R-values, attic insulation levels for existing homes range from R-30 in the warmest zones to R-60 in the coldest. The International Energy Conservation Code (IECC) sets minimum ceiling R-values by climate zone:
| Climate Zone | Minimum Ceiling R-Value (Uninsulated Attic) | If You Already Have 3-4 Inches | Estimated Blown-In Depth Needed (Cellulose, ~3.5/inch) |
|---|---|---|---|
| Zone 1 | R-30 | R-25 | ~8 – 9 inches |
| Zone 2 | R-49 | R-38 | ~14 – 15 inches |
| Zone 3 | R-49 | R-38 | ~14 – 15 inches |
| Zones 4A, 4B | R-60 | R-49 | ~17 – 18 inches |
| Zones 5, 6, 4C | R-60 | R-49 | ~17 – 18 inches |
| Zones 7, 8 | R-60 | R-49 | ~17 – 18 inches |
Most common insulation types deliver roughly R-3 to R-3.5 per inch, so multiplying the current depth in inches by 3 provides a reasonable estimate of existing R-value performance, as noted by ENERGY STAR.
Air Sealing Must Come Before Blown-In Insulation
One of the most frequent mistakes in attic insulation projects is adding blown-in material without first sealing air leaks in the attic floor. When conditioned air from the living space leaks into the attic through penetrations, and insulation is piled on top, moisture from that air can condense within the insulation or on the roof deck, leading to mold, wood rot, and degraded thermal performance.
Common attic air leak locations include HVAC register boots, recessed ceiling lights, plumbing vent stacks, electrical wire penetrations, dropped soffits, and gaps where interior walls meet the attic floor. Each of these should be sealed with caulk, canned spray foam, or rigid foam board before any insulation is installed.
Air sealing also has a direct effect on energy savings. The EPA estimates that sealing air leaks and adding attic insulation can save homeowners an average of 15% on heating and cooling costs, or roughly 11% on total energy costs. Much of this savings comes from stopping air movement, not just from adding R-value.
Key air sealing targets before blowing insulation:
- Recessed light fixtures (cover with specially designed covers before insulating)
- Plumbing vent pipe chases
- Chimney and flue penetrations (use metal flashing and high-temperature caulk)
- HVAC register boots
- Top plates of interior partition walls
- Dropped soffits above cabinets and bath fixtures
- Attic hatches and pull-down stairs
Indoor Air Quality and Ventilation Considerations
Tightening the building envelope with insulation and air sealing has an important side effect that must be managed: reduced air exchange with the outdoors. The EPA notes that air-tightening activities can cause contaminants that would otherwise be diluted in leaky homes to build up to unhealthy levels, including combustion gases, VOCs, and moisture.
This does not mean insulation should be avoided. It means that when we seal and insulate an attic, we need to verify that the home has adequate ventilation. In homes with combustion appliances in the attic, such as gas water heaters or furnaces, professional HVAC contractors should conduct combustion safety testing after air sealing work is completed. In all cases, ensuring bathroom and kitchen exhaust fans are functional and properly vented to the exterior helps manage the moisture loads that insulation alone cannot address.
Real-World Scenarios Where Blown-In Insulation Is the Right Solution
| Scenario | Home Type | Problem | Solution | Outcome |
|---|---|---|---|---|
| Low-clearance truss attic | 1970s ranch, 1,200 sq ft | Truss web members block access to many bays; batts impossible to fit | Blown-in cellulose over existing thin layer of batts, reaching R-49 | Complete coverage achieved; homeowner reported even temperatures across all rooms |
| Dropped soffit above kitchen | 1990s two-story, 2,400 sq ft | Open cavities behind soffit allow air to bypass insulation at wall-ceiling junction | Dense-packed cellulose blown into soffit cavities after air sealing | Eliminated cold drafts above cabinets; reduced heating load |
| Irregular framing from remodel | 1950s cape cod, 1,500 sq ft | Previous remodel left non-standard joist spacing, inaccessible bays | Blown-in fiberglass installed through small hose opening from a single access point | All cavities filled uniformly; batts removed from accessible areas beforehand |
| Multiple penetrations in attic floor | 2005 colonial, 2,800 sq ft | Plumbing stacks, electrical runs, and HVAC boots create dozens of gaps in insulation plane | Comprehensive air sealing followed by blown-in mineral wool to R-60 | Air sealing stopped measurable drafts; insulation provided consistent thermal barrier |
| Knee wall attic with sloped ceiling | 1980s split-level, 1,800 sq ft | Knee wall cavities and sloped ceiling sections had no insulation, causing ice dams | Blown-in cellulose installed into knee wall bays and floor cavities behind knee wall | Ice dam formation stopped; second floor rooms maintained stable winter temperatures |
Actionable Strategies for Homeowners Considering Blown-In Insulation
- Measure current insulation depth. If insulation is at or below the level of the floor joists, you likely need more. Use a ruler or tape measure in multiple spots and average the depth.
- Identify your climate zone. Use the DOE climate zone map to determine the R-value target for your area. This tells you how much total insulation is needed.
- Hire a licensed and insured contractor. Blown-in equipment requires professional operation. Confirm the contractor plans to seal air leaks before adding insulation. If they do not agree to seal first, find a different contractor.
- Ask about baffles. Insulation baffles (rafter vents) should be installed at the eaves before blowing insulation to ensure soffit vents remain unblocked and attic ventilation is maintained.
- Check for hidden attic problems. Look for signs of wet insulation, roof leaks, knob-and-tube wiring in older homes, mold on rafters, and exhaust vents terminating inside the attic. These issues need to be resolved before insulation is added.
- Request documentation. The contractor should provide a record of how much insulation was installed and what the final R-value is for the attic floor.
Factors That Affect Blown-In Insulation Performance
- Installed density. Blown-in materials must be installed at the manufacturer’s specified density to achieve the labeled R-value at the stated thickness. Under-dense installations result in lower R-value per inch and may settle more over time.
- Consistent depth across the attic. Uneven application creates thin spots with lower effective R-value. Professional installers use depth guides or rulers across the attic floor to maintain uniform coverage.
- Moisture management. Blown-in cellulose can absorb moisture if exposed to roof leaks or condensation. Moisture increases thermal conductivity and can promote mold growth. Ensure the roof is in good repair before insulating.
- Proper ventilation. Attic ventilation works in conjunction with insulation. Soffit vents, ridge vents, or gable vents must remain clear for the attic to manage temperature and humidity. Insulation baffles protect ventilation paths at the eaves.
- Climate zone requirements. Colder climates demand higher R-values, which means deeper insulation. Meeting these targets with blown-in material is straightforward since depth scales directly with R-value.
Get Started With Your Attic Insulation Project
All Foam & Insulation specializes in professional blown-in insulation installation for hard-to-reach attic spaces. Our experienced team evaluates your attic, seals air leaks, and installs the right insulation material to meet or exceed recommended R-values for your climate zone. We handle every project with the attention to detail that ensures consistent coverage, proper ventilation, and long-term energy savings.
Reach us at [email protected] or call (541) 826-9600 to discuss your attic insulation needs. We are ready to help you close those gaps for good.
Frequently Asked Questions About Blown-In Insulation for Attic Gaps
Can blown-in insulation be installed over existing batts?
Yes, in most cases. Unless the existing insulation is wet, moldy, or contaminated with animal waste, new blown-in insulation can be installed directly on top without removal.
How long does blown-in attic insulation take to install?
Most standard attic insulation projects are completed in a single day, including air sealing, baffle installation, and blowing the insulation to the target depth.
Does blown-in insulation settle over time and lose effectiveness?
Modern blown-in materials are rated at their settled density, meaning the R-value accounts for normal settling. As long as the material is installed at the correct density, performance remains stable.
Is blown-in insulation safe for homes with older electrical wiring?
Homes with knob-and-tube wiring (pre-1930s) require special care because insulation contact with this wiring can create a fire hazard. A qualified electrician should evaluate the wiring before any insulation is added.
Will adding blown-in insulation to my attic affect my roof warranty?
Properly installed blown-in insulation with adequate attic ventilation will not damage your roof or void its warranty. Maintaining clear soffit vents with insulation baffles prevents moisture buildup that could otherwise affect roofing materials.
Sources
- ENERGY STAR – Recommended Home Insulation R-Values – Climate zone R-value recommendations for retrofitting existing wood-framed buildings, including specific attic floor targets.
- ENERGY STAR – Why Seal and Insulate – EPA estimate that 9 out of 10 U.S. homes are under-insulated, with data on energy savings from sealing and insulating.
- ENERGY STAR – Well-Insulated and Sealed Attic – Detailed guidance on attic insulation types, including a chart showing blown-in insulation is best suited for hard-to-reach places, plus contractor hiring tips and installation best practices.
- EPA – Energy, Weatherization and Indoor Air Quality – Guidance on indoor air quality considerations during weatherization, including ventilation requirements and contaminant management after air-tightening.

- Faced vs. Unfaced Fiberglass Batts in Creswell, OR: Performance and Applications Compared - September 11, 2026
- How to Install Fiberglass Batt Insulation Between Floor Joists in Brookings, OR - September 11, 2026
- Fiberglass Batt Insulation Thickness: How Do You Choose the Right Size? - September 9, 2026